Why Your Sensor Readings Are Wrong (And It's Not the Sensor)
Calibration is the step most tutorials skip — and it's why your temperature reads 4°C high
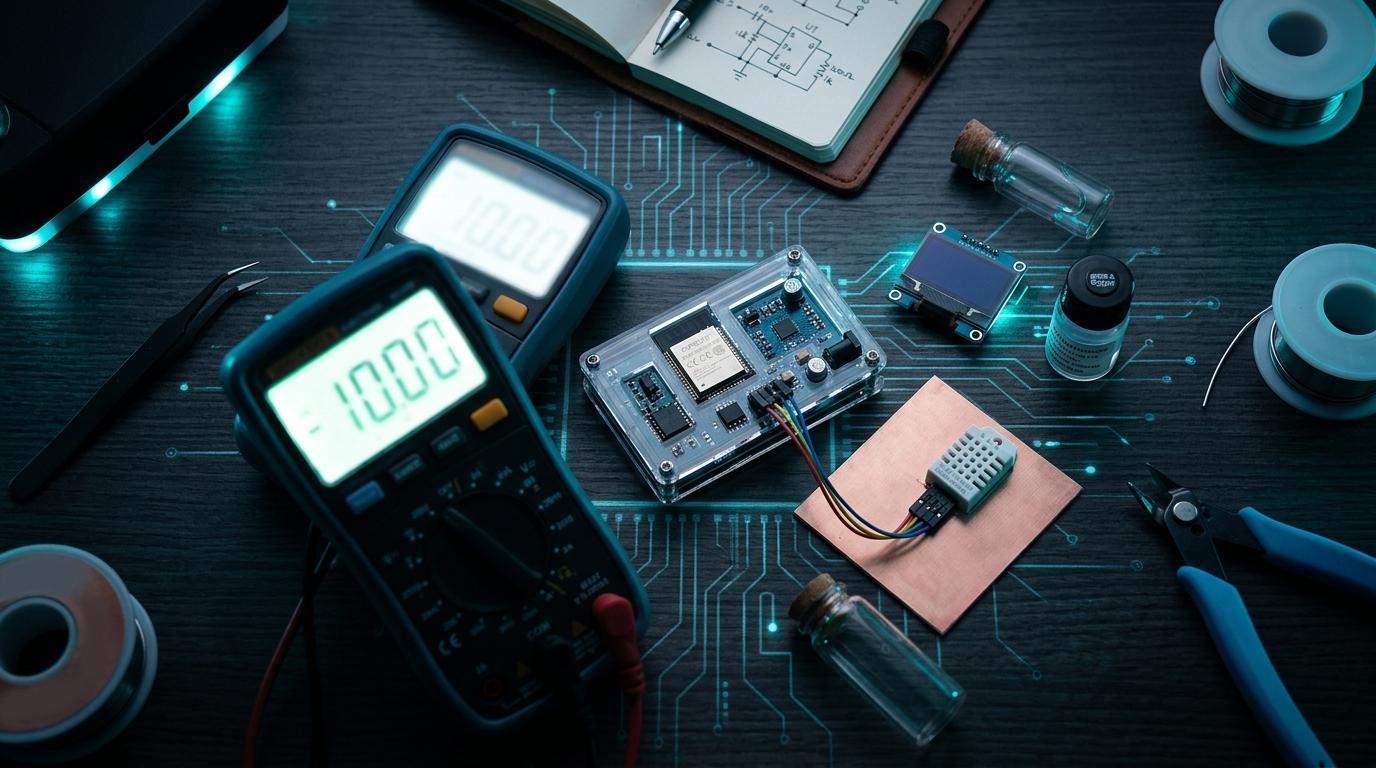
The DHT22 says 34°C. Your phone says 30°C. The sensor is wired correctly, the code matches the datasheet, the library is correct. The reading is just consistently wrong.
This is extremely common with hobbyist-grade sensors, and it's rarely the sensor that's broken. It's an uncalibrated sensor in an environment that doesn't match the conditions its factory calibration assumes.
What 'calibration error' actually means
Sensor calibration has two components: offset and gain. An offset error means the reading is consistently wrong by a fixed amount — always 4°C high, always 8% humidity high. A gain error means the error scales with the reading — accurate at 25°C but 2°C high at 35°C and 4°C high at 45°C.
Most hobbyist sensors have acceptable gain but imperfect offset — they're accurate relative to themselves (they respond correctly to temperature changes) but not necessarily accurate in absolute terms. This is fine for many applications and needs to be corrected for others.
The self-heating problem
The most common cause of temperature readings that are too high: the sensor is measuring its own heat, or the heat from nearby components. This is particularly common with the DHT22 and similar sensors when they're placed on a PCB near a microcontroller or power regulator.
The ESP32 at full load dissipates enough heat to raise ambient temperature by 2–5°C within a few centimetres. If your temperature sensor is on the same board as the ESP32, it's measuring ESP32 heat plus ambient temperature.
- Mount the temperature sensor away from heat-generating components.
- Use a remote sensor with an extension cable if the main board generates significant heat.
- Add ventilation to the enclosure — stagnant air around components heats up.
- If the sensor must be on the main board, apply a correction factor measured empirically.
"My temperature monitoring node read 3–4°C high in summer. Same node, same location — I moved the sensor to a small satellite board on a 10cm cable away from the ESP32. Now it's accurate within 0.5°C." — home automation builder
How to calibrate a sensor with a reference
The simplest calibration method: place your sensor next to a known-accurate reference (a calibrated thermometer, your phone's weather app outdoors, or a commercial indoor climate sensor) and record both readings at several temperatures over a few hours.
If the error is consistent (always 3.5°C high), apply a fixed offset: corrected_value = raw_value - 3.5. If the error varies linearly, do a two-point calibration using measurements at two different temperatures.
Humidity calibration is harder
Humidity sensors are more difficult to calibrate at home because you need a known-humidity environment. The practical approach is to use a saturated salt solution — different salts in saturated solution produce specific relative humidities at known temperatures. Potassium chloride (KCl) produces about 85% RH at 25°C. NaCl (table salt) produces about 75% RH.
Prepare the saturated solution in a sealed container, leave the sensor sealed inside for several hours, and record the sensor reading. Compare to the expected humidity for your salt and temperature. The difference is your calibration offset.
ADC nonlinearity on the ESP32
If you're reading an analog sensor through the ESP32's ADC, be aware that the ESP32 ADC has significant nonlinearity — especially at the low and high ends of the range (below about 150mV and above about 3100mV). If your sensor's output range covers these regions, you may see errors that look like calibration issues but are actually ADC hardware behaviour.
Espressif provides an ADC calibration API that corrects for the known nonlinearity curve of each chip. Using esp_adc_cal_characterize() and esp_adc_cal_raw_to_voltage() instead of raw analogRead() significantly improves accuracy.
Accurate sensors start with quality hardware
Compare temperature, humidity, and environmental sensors on RoboDIB. Specifications and datasheet links for every module.
More from the blog
RoboDIB
Solve these problems yourself
AI inventory, component map, 3D printing, and circuit design tools — all built for India's maker community.