OTA Updates on ESP32 — How to Ship Firmware Without a USB Cable
Deploying IoT devices is easy. Updating them after deployment is the hard part.
You deploy 8 ESP32 sensors across a building. Three months later, you find a bug in the MQTT reconnect logic, and you need to push a firmware update. You don't want to physically access all 8 devices. If you didn't implement OTA before deployment, you now have a problem.
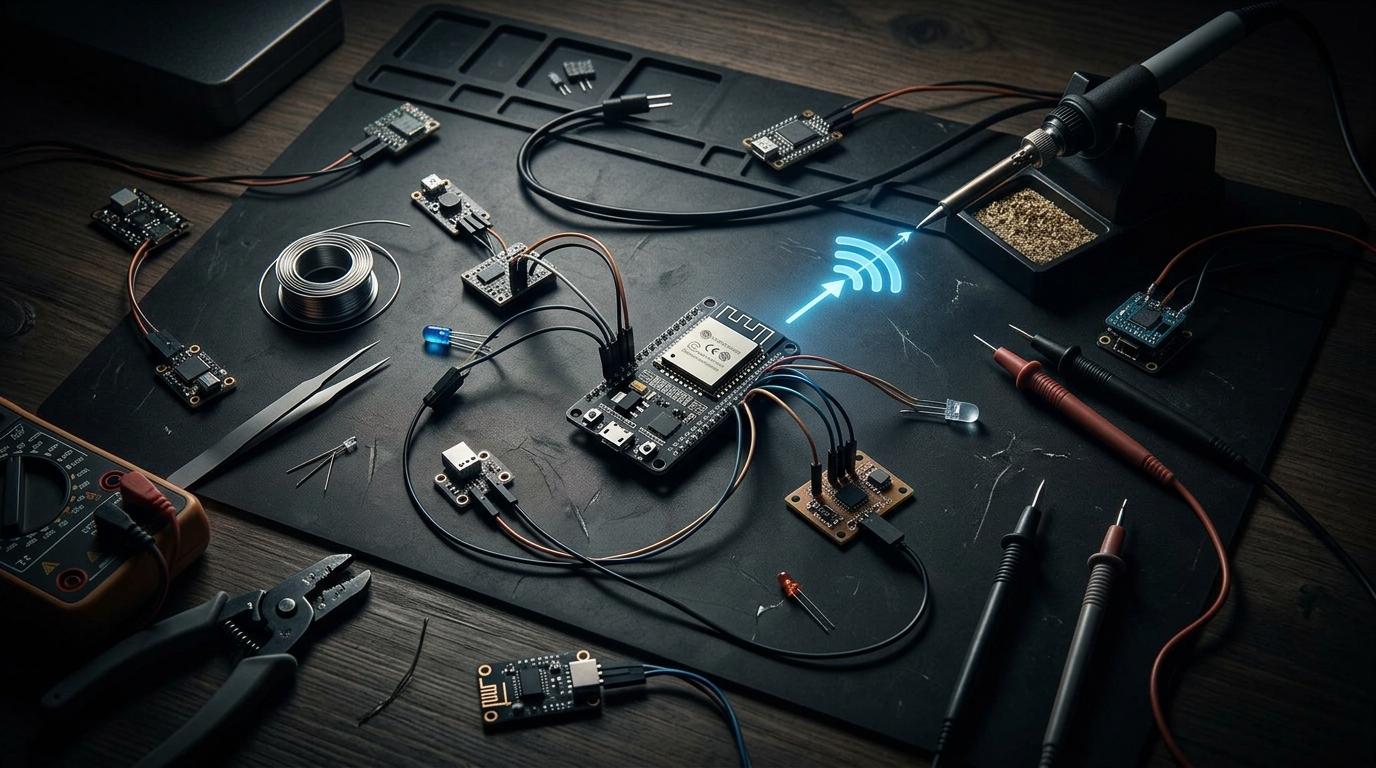
OTA (over-the-air) updates are the mechanism that lets deployed IoT devices receive new firmware without a physical connection. On ESP32, it's built into the SDK — but it needs to be implemented deliberately. Here's how.
How ESP32 OTA works
The ESP32 flash is partitioned into two 'OTA slots' (plus bootloader and data partitions). When you do an OTA update, new firmware is written to the inactive slot while the device continues running from the current slot. When the download is complete and verified, the bootloader is told to swap to the new slot on next boot.
If the new firmware fails to start (doesn't send a 'I'm alive' confirmation within a timeout), the bootloader rolls back to the previous slot. This is the key safety mechanism — a bad OTA push doesn't brick the device.
Arduino OTA vs HTTP OTA
There are two main approaches in the Arduino/PlatformIO ecosystem.
ArduinoOTA uses mDNS and port 3232 to let you push firmware directly from the IDE over the local network. It's excellent during development — you can flash a device that's across the room — but it requires the device and laptop to be on the same network, and it requires the developer to initiate the update manually. Not suitable for devices deployed in remote locations.
HTTP OTA (HTTPUpdate library) has the device poll a URL, download the binary if a newer version is available, and apply it. This is the right approach for production deployments.
A simple HTTP OTA pattern

The basic flow:
- Device boots, connects to Wi-Fi.
- Every hour (or on a schedule), make a GET request to your update server: /firmware/check?version=1.2.3
- Server returns either 304 (no update) or 200 with the new binary.
- If 200, start the OTA download using HTTPUpdate.update().
- HTTPUpdate handles writing to the inactive slot, verifying, and rebooting.
- After reboot, device checks in with 'running version 1.2.4' to confirm success.
Version management
Define a firmware version string in your code and include it in every HTTP request to the server. The server uses this to decide whether to push an update. Simple approach: semantic version string in a #define, included in a custom HTTP header.
For a small deployment (under 20 devices), a simple static file server works as the update endpoint — just replace the binary file at the URL when you want to push a new version. For larger deployments, you want a proper update server that can target individual devices or groups.
"I have 14 ESP32 sensors in a building I visit maybe once a year. OTA means I can ship firmware fixes from my laptop. Spent 3 days setting it up before deployment. Saved myself many times that already." — IoT builder, Bangalore
Security considerations
Plain HTTP OTA is a security risk — anyone on the network who can intercept the update traffic could push arbitrary firmware. For any deployment outside your home network:
- Use HTTPS for the update URL. The ESP32 HTTP client supports TLS.
- Verify the firmware binary hash before applying — HTTPUpdate can do this.
- Consider code signing if devices are deployed in shared/untrusted networks.
- At minimum, use a non-obvious URL with a device-specific token as a query parameter.
Testing OTA before deployment
The most important step: test your OTA path thoroughly before you deploy. Flash v1.0, then push v1.1 via OTA and confirm it works. Then push a deliberately broken binary and confirm the rollback fires. Then push v1.2 and confirm that works too.
Doing this after deployment is extremely painful. Doing it on your desk before the devices leave the lab costs 30 minutes and might save you a site visit.
Build on reliable hardware from the start
Browse ESP32 modules and accessories on RoboDIB. Compare development boards, antenna options, and expansion modules before committing to a design.
More from the blog
RoboDIB
Solve these problems yourself
AI inventory, component map, 3D printing, and circuit design tools — all built for India's maker community.